Growing up, Fall was not my favorite season. Fall meant back to school; which meant the end of summer. I waited all year long for summer, because I grew up in northeast Pennsylvania and despised winter. There was nothing about winter I liked except for Christmas. Changing leaves meant that down jackets and boots were being pulled out from storage, blue skies were turning grey, and scraping ice off windshields would be our daily cardio.
My mom would make apple crisp growing up, not to be confused with apple crumble. I never knew there WAS a difference between crisp and crumble, until I tried a crumble made by my friend Lauren. She told me she used Betty Crocker’s Southern Apple Crumble recipe. And I’ve never been the same since.
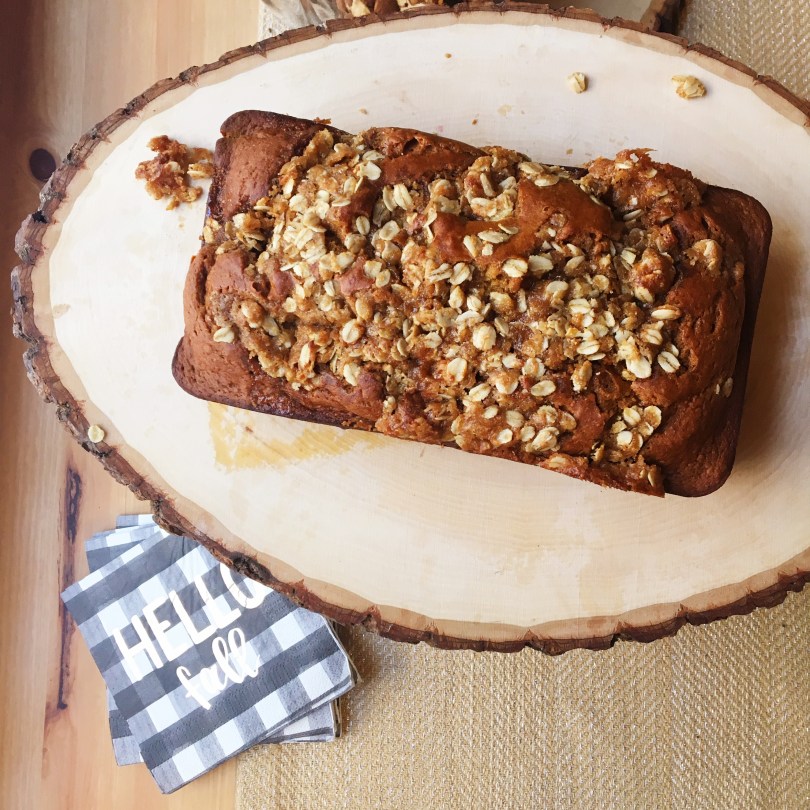
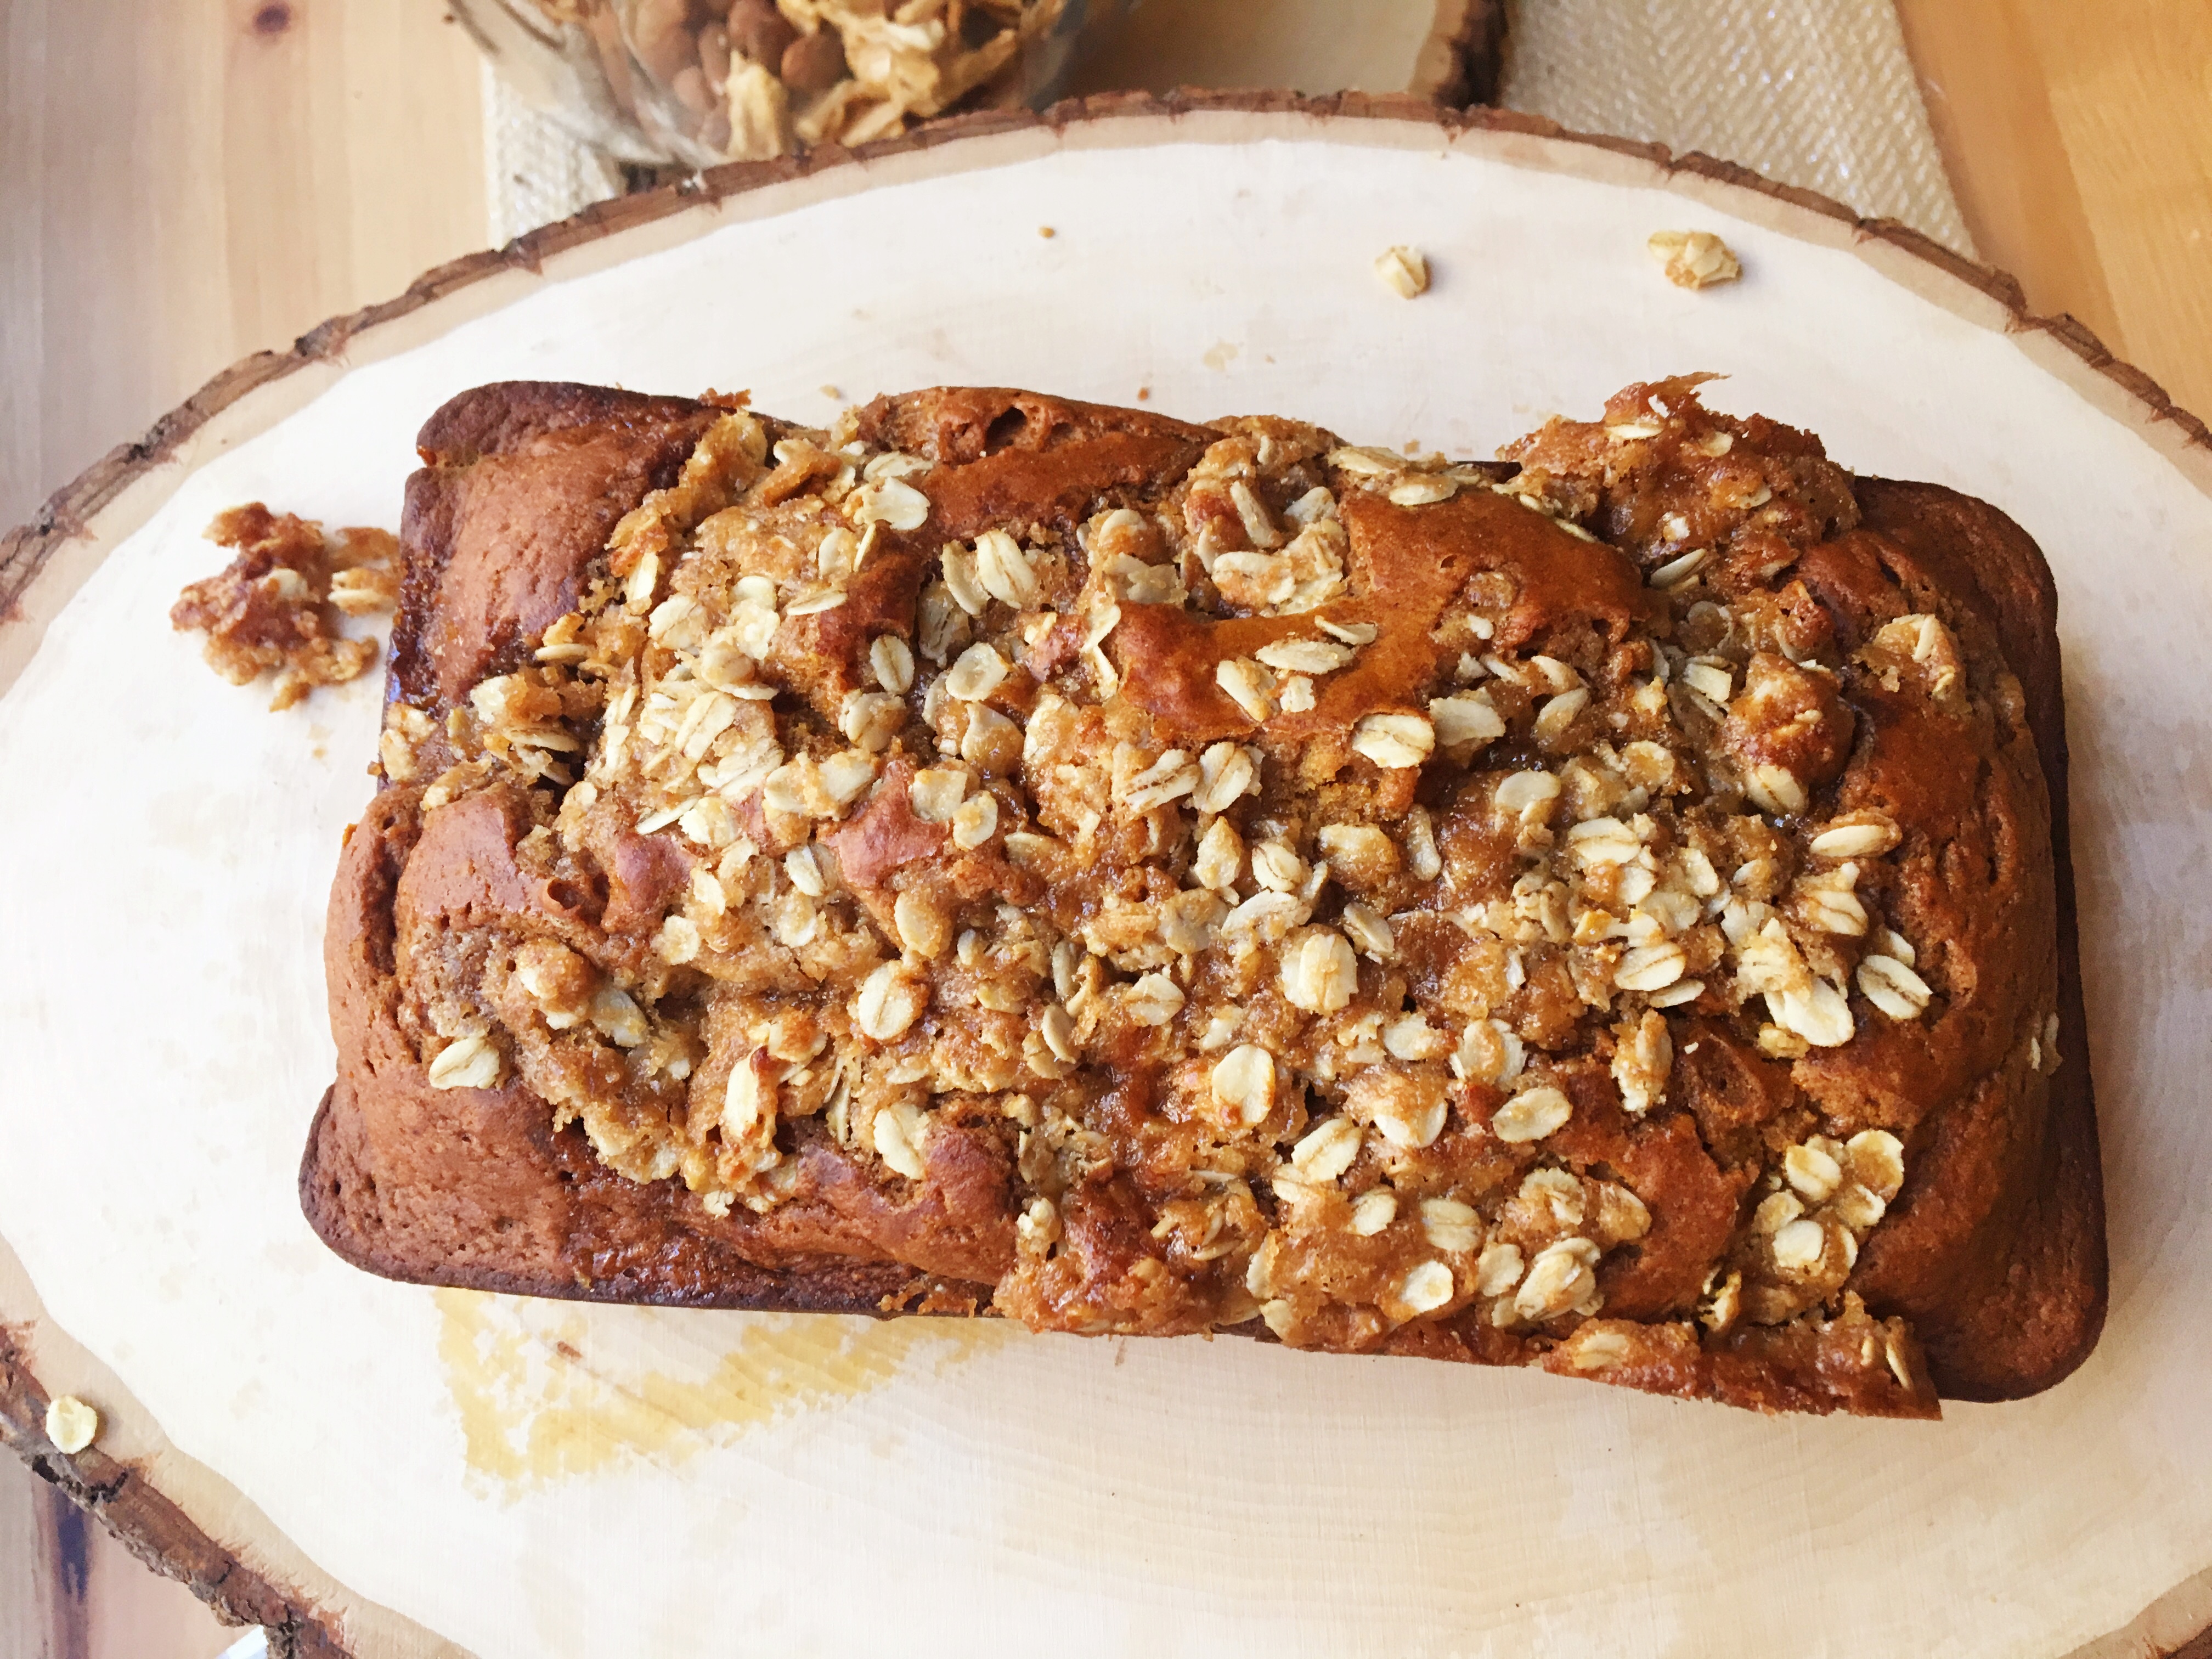
I suddenly realized why apple crisps had never “done it” for me. There was never enough topping. The ratio was usually 3/4 filling to 1/4 topping. For a sweets lover like me, I’m not so much interested in the apple filling as I am that golden, crunchy topping.
When I made this crumble for the first time, I couldn’t believe how much butter and sugar there was; I should have known! That’s what makes anything taste good, right? 😉 I knew I could cut back a little on the sugar, since there’s a whole bag of cookie mix on top! This recipe is definitely not healthy in any way. But, it’s also the best I’ve ever had. 🙂
These Granny Smith apples are actually from our front yard! There was already a mature apple tree when we moved in, and every season I look forward to baking and sharing our bounty with neighbors and friends.

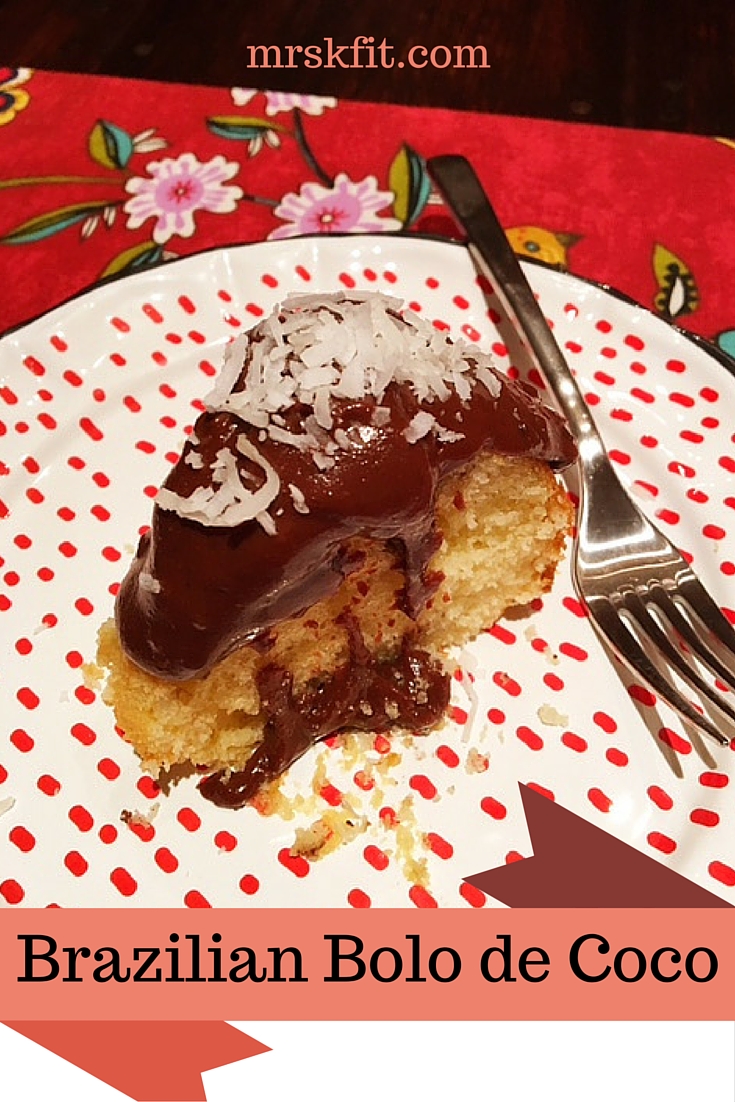
Oatmeal Cookie Apple Crumble
For the filling
- 4 large Granny Smith apples, peeled and chopped (You want to use granny smith because they are tart and will help balance out the sugars.)
- 1/4 cup granulated sugar (note: I’ve never tried to substitute any “healthier” sugars like coconut sugar.)
- 1/4 cup packed brown sugar
- 2 teaspoons cinnamon
- 1/4 cup cold butter cut into small pieces
For the topping
- 1 pouch *Betty Crocker Oatmeal Cookie Mix
- 1/2 cup butter, melted
- 1/2 cup chopped pecans (optional)
Instructions
- Peel and chop apples.
- Heat oven to 325. Spray bottom of 2 1/2 quart dish with cooking spray. I like to use my Corningware dish.
- In large bowl, toss the apple, white and brown sugars, cinnamon, and butter. Spread into baking dish.
- In same large bowl, stir cookie mix and melted butter until crumbly. Sprinkle over filling.
- Bake for 45-50 minutes until the filling starts to bubble golden brown like the photo above.
- If adding pecans, remove from oven about 10 minutes before cooking is complete and sprinkle on top. Then, resume cooking.
- Serve warm ‘a la mode’ or with a dollop of whipped cream. Bake for any ‘anti-apple piers’ who are known to pass on apple desserts; watch them take a bite and nod with satisfaction. 😉
*This has sometimes been hard for me to find in my grocery store. It’s not very popular and I don’t see it on the shelves often. So, a hack I’ve learned is to buy the Betty Crocker Oatmeal Chocolate Chip cookie mix, and sift out the chocolate chips. A little tedious, but works.